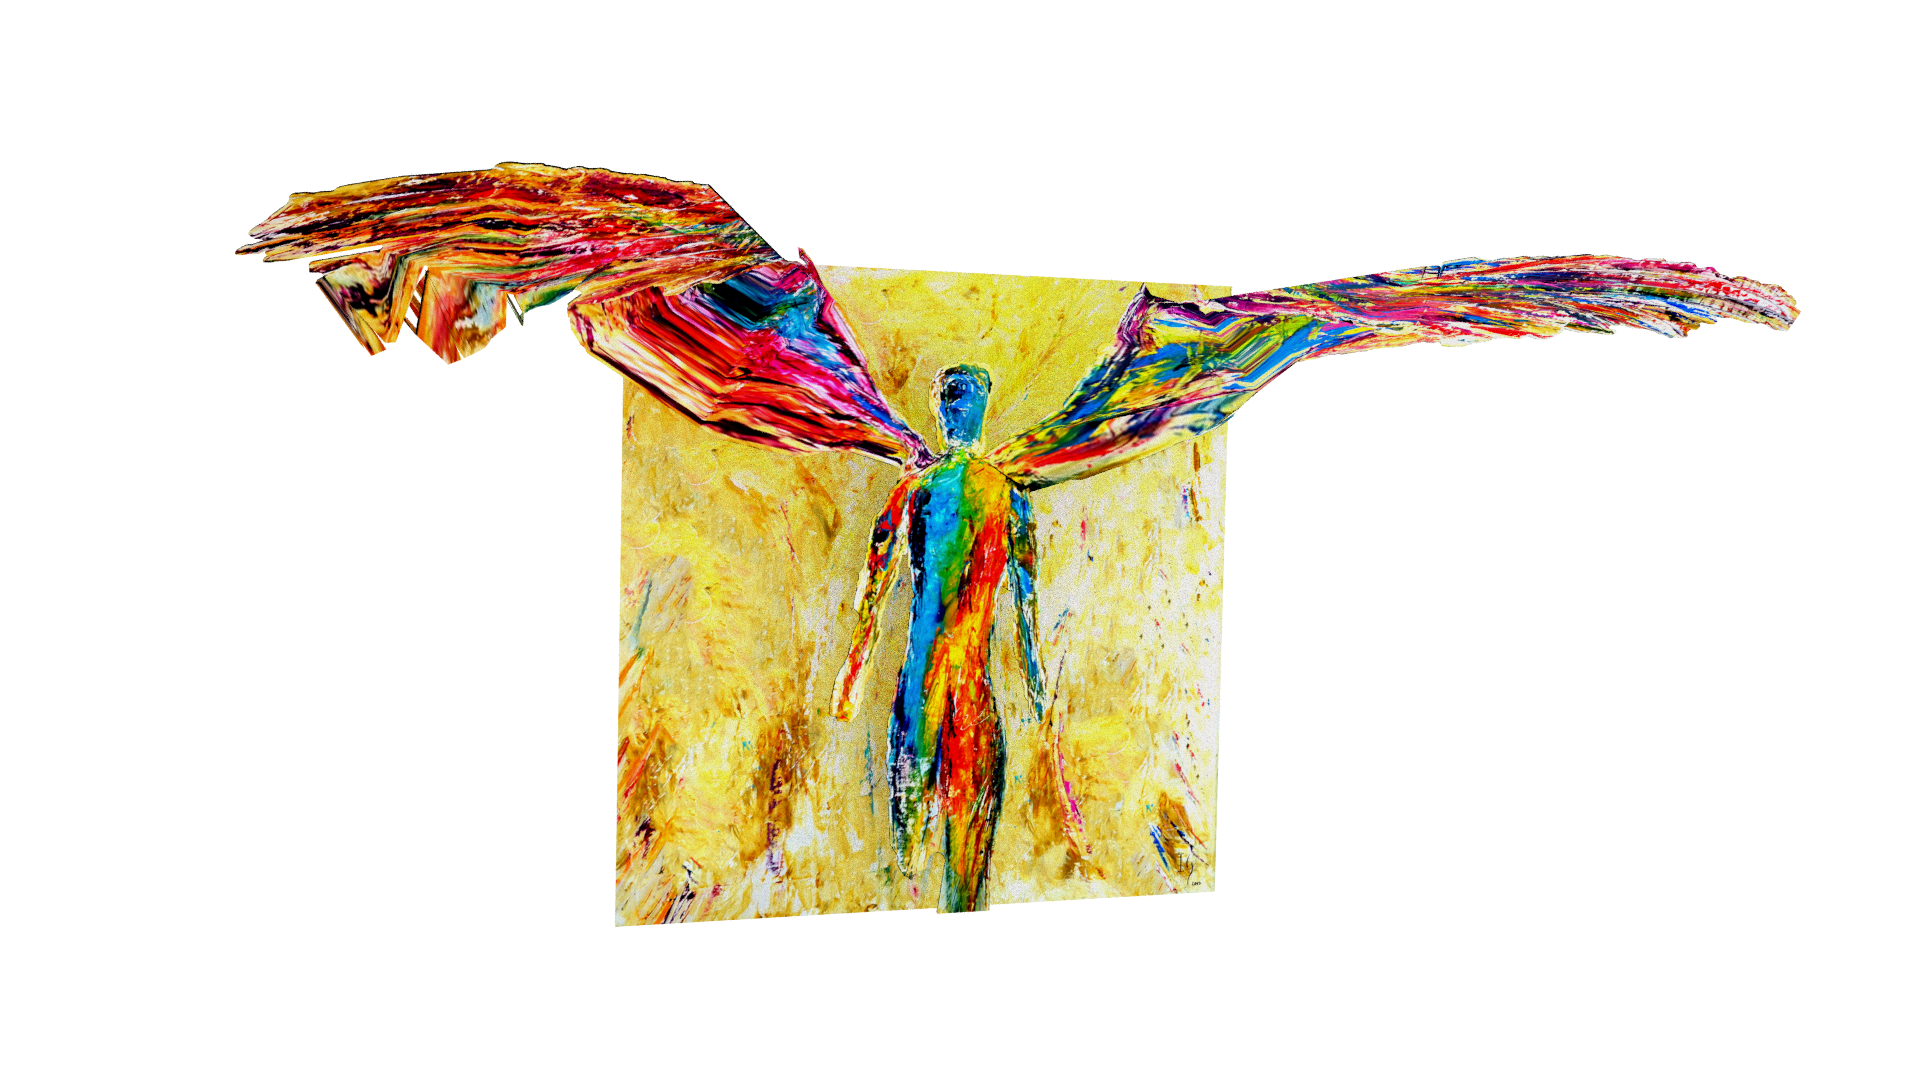
3D Angel
Creating the 3D angel is what ended up being the most difficult. I took the picture of the painting, and removed the angel and used Adobe Photoshop’s clone stamp and Healing Brush to cover over the hole the angel used to be in. Then I took the angel and flipped its wings outwards as it would be fully outstretched, and then exported the angel and background as individual pieces. I took and used Adobe Illustrator to create a black on white outline of the angel, and exported it as an SVG object.
I then imported the SVG object into blender. Used the “Mesh > Faces > Beautiful Fill” option to convert it to a mesh. Then spent some time cleaning up the mesh by hand. The next step was applying the Angel we cut out earlier as a material (which proved to be a finicky process to map properly.)
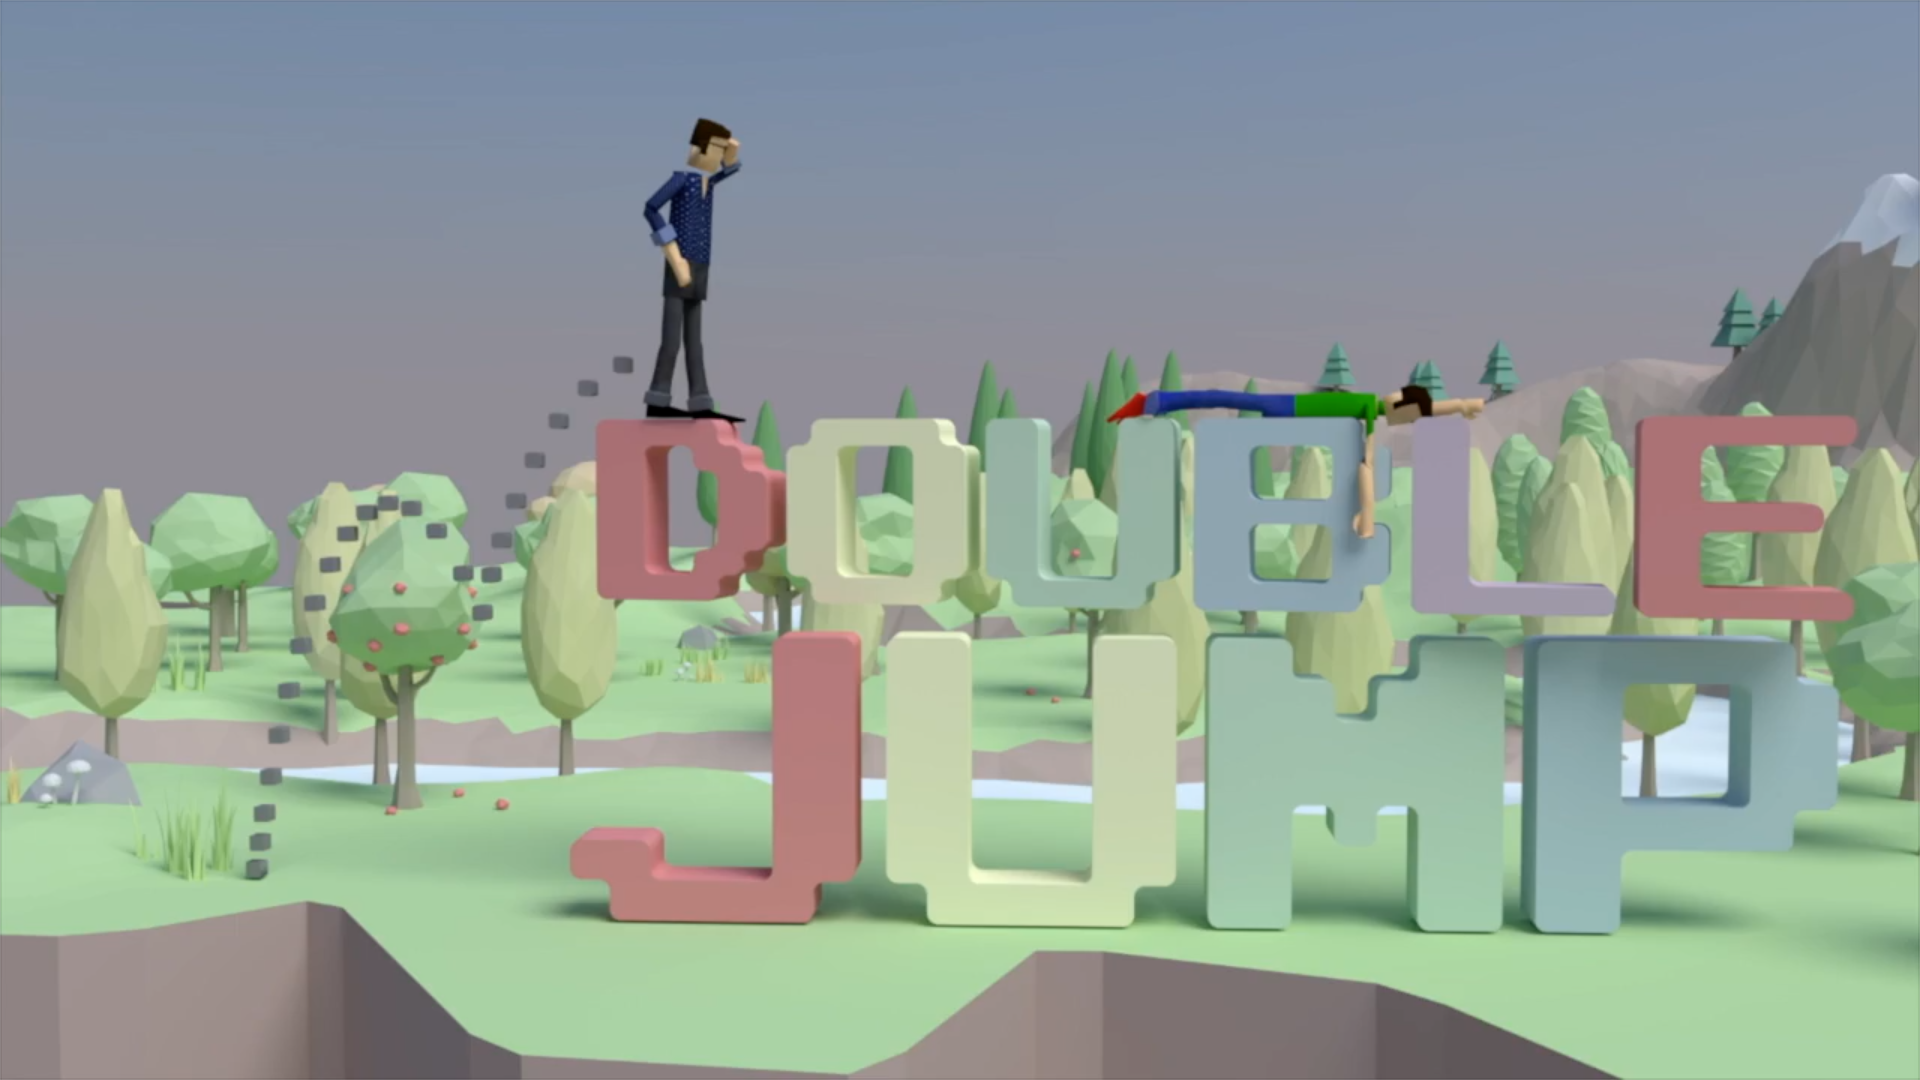
By this point I had an angel with outstretched wings, and its background as two elements. Now it was time to animate it. I had created rigs before thanks to the Double Jump Intro, so that turned out to be an easy process.
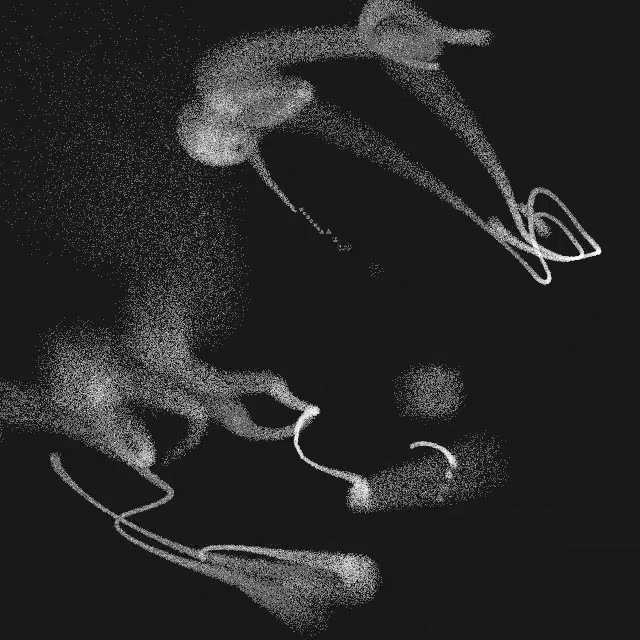
From there, I watched a lot of videos of birds flying in slow motion, and did the animation in two parts, animate the flapping of the wings itself, which was just a simple up and down motion, with a little rotation. Then it was about animating the up and down motion of the angel itself. I noticed that as birds fly, they dip a little after each flap. This helped to give it a really natural feel.
I then took an additional digital painting given to me by the artist, and faded that in at end. Giving all the little specs and words depth as to help enhance the 3D effect.